Mileena is a popular character from the Mortal Kombat fighting game franchise. She is known for her sharp teeth, which are a result of her Tarkatan heritage. If you are cosplaying as Mileena, you will need to apply a teeth prosthetic to your mouth.
In this tutorial, I will show you how to apply Mileena’s teeth prosthetic. I will also provide some tips on how to make the prosthetic look more realistic.
Materials Needed:
- Mileena Teeth
- Liquitex Basics in Brown and Titanium White
- Scissors
- ProsAide
- ProsAide Cream
- Make-up Spatula
- Normal foundation and make-up
Painting
If you have ordered a painted set of teeth, skip ahead to the next section.
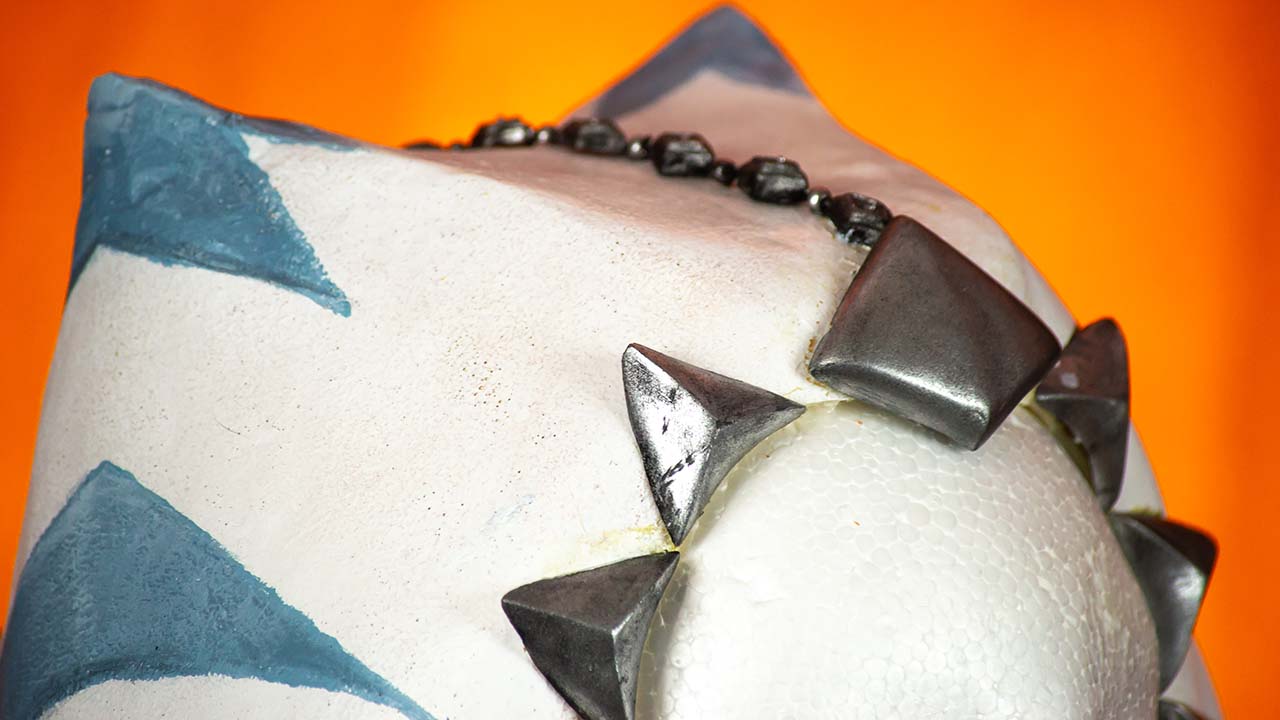
If you have an unpainted set, first you need to get them all made up and gorgeous. For this, you will only be painting the main portion of the teeth with the paint, so basic acrylics are workable. I recommend Liquitex Basics for both quality of color and longevity.
I start with a base coat of brown, focusing on getting a good coverage into the cracks around the base of the teeth and the striations of the teeth. From there, I layer on thin amounts of white from the tip down until I get a paint job I like.
You really only need to paint the base of the teeth themselves, as the part that will be blended into your cheek will have your foundation on top of it.
Pre-Wear Prep Work
Before you wear the teeth, you’ll want to trim them down. I send them with extra flashing along the edges – but if you glue them on like that they’ll reach all the way to your lower eyes and be really uncomfortable! I trim the top two parts so that the edge sits just below the highest part of my cheekbones. For the lower parts, I trim them right along my jawline.
Make sure when you cut them that you make a uniform, smooth line without any nicks or jagged parts – otherwise the latex may rip when you are removing them.
Applying the Prosthetic

Step One:
Clean your skin where the prosthetic will be glued down. If you want an all-day wear, you will want to make sure to clean your skin and apply before primer or foundation. If you’re just wearing it for a photoshoot, applying foundation first will allow you to remove the glue a bit easier.
Step Two:
Apply a thin layer of ProsAide II glue to the prosthetic and to your cheeks – you will want to apply the glue from the edge two thirds of the way down to the teeth. Do not apply the glue to the actual teeth, so that way they will stand out and have some flexibility when you move your mouth.
(Note: You can use ProsAide cream here if you do not wish to buy both the glue and the cream, but make sure that you spread a very thin, very even layer of the cream.)
Allow the glue to get tacky (it will no longer be shiny but be a duller color).
Step Three:
Glue down the teeth. I usually position the top teeth first – the little ‘lip’ near the biggest fangs should sit right along the edge of your lips. Then I usually angle the teeth back and along my cheekbone to give me a legit looking smile. For the bottom teeth, I close my mouth and ‘nest’ the lower teeth where they fit along the upper teeth but giving some space between the two sets.
Step Four:
Begin blending the edge of the prosthetic. To do so take a small amount of the ProsAide Cream on the tip of your spatula. Push it into the lip of the prosthetic. Then let it dry completely – the Pros-Aide Cream will go from opaque to clear once it is dry. Repeat until you no longer feel a ‘lip’ when you run your finger along the edge.
Step Five:
Apply foundation to the latex piece. I use a make-up sponge for this part. Depending on your skin tone, you may need to set the first layer of foundation and apply another over top to get the skin tone to fully match your own.
Step Six:
Paint your visible cheek between the teeth black. You can use eyeshadow for this, but I generally like to use black water-based paint for a really solid color. Carefully paint underneath and around the teeth so that when you move your mouth open and shut it looks like it’s a hole.
Step Seven:
Use lip liner and lipstick to blend the edges of the center-lips into your actual lips. You can use make-up directly on the latex pieces, that’s a-OK!
Step Eight:
Finish the rest of your make-up, and rock on!
Removal and Clean-up
Once you’re done with the prosthetics, you should be able to re-use them. Take hold of the teeth and gently lift towards the thin edge. If you have the remover, you can use that to work the ProsAide off. I usually leave the ProsAide Cream bits on to make the next use of the latex pieces easier.
With the jaw pieces off, you’ll want to wipe off any make-up that remains such as using make-up removing cloths or some micellar water on a cotton round. Store the latex pieces back in their bag in a cool, dry place out of direct sunlight.
Unfortunately, every time you glue the latex pieces on and remove them there is a chance they will rip. I’ve been lucky enough to get a solid half-dozen applications out of my latex pieces, but your mileage may vary. Please message me if you have any questions!