
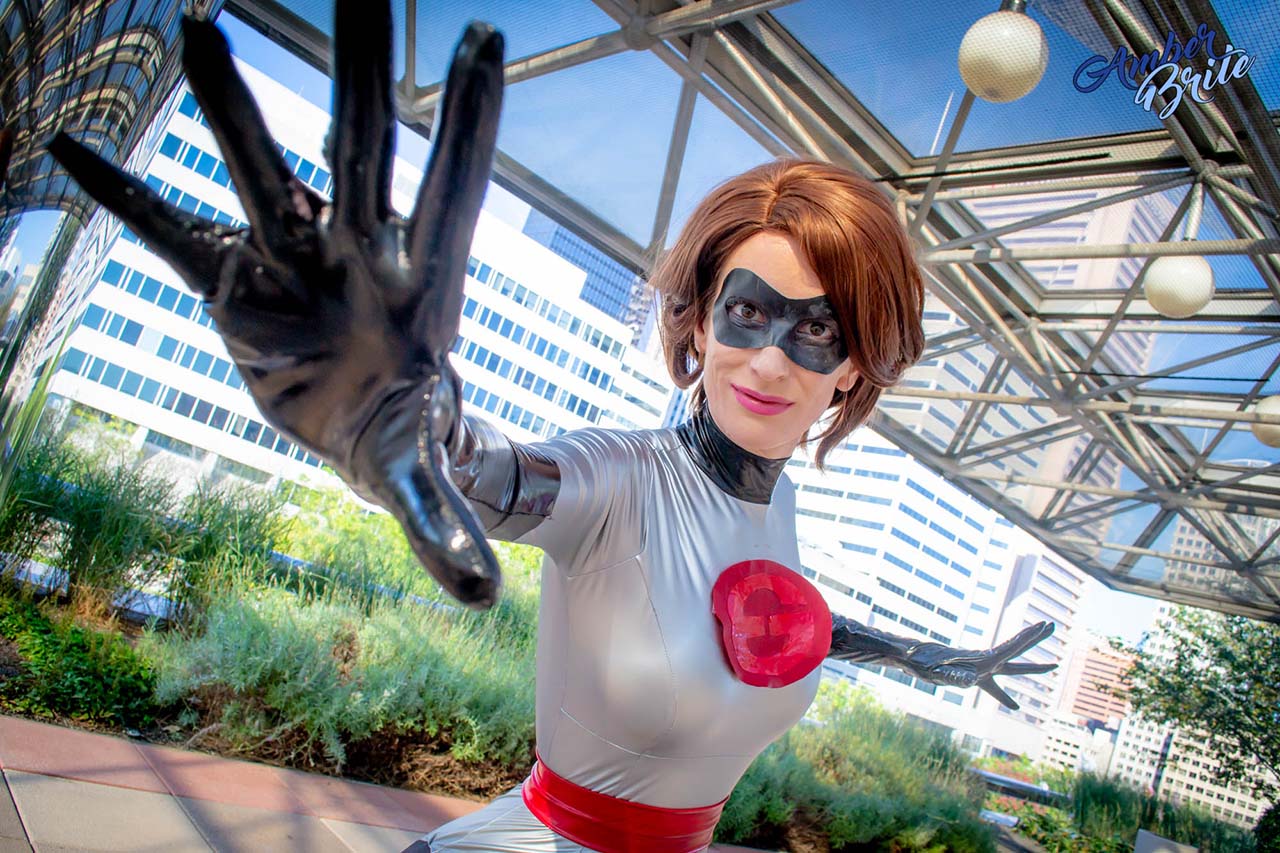
So you wanna be a caped crusader, a defender of justice, a masked vigilante, a SUPERHERO? (Or villian, hey, I don’t judge.) Well you’re going to need a mask. Fortunately, there’s a way to do it that’s simple, effective, and will make a convincing and comfortable mask. This tutorial will show you how to make a simple but effective mask that will help you look the part. All you need are some basic materials and tools, and a little bit of time and patience. So what are you waiting for? Let’s get started!
Material required:
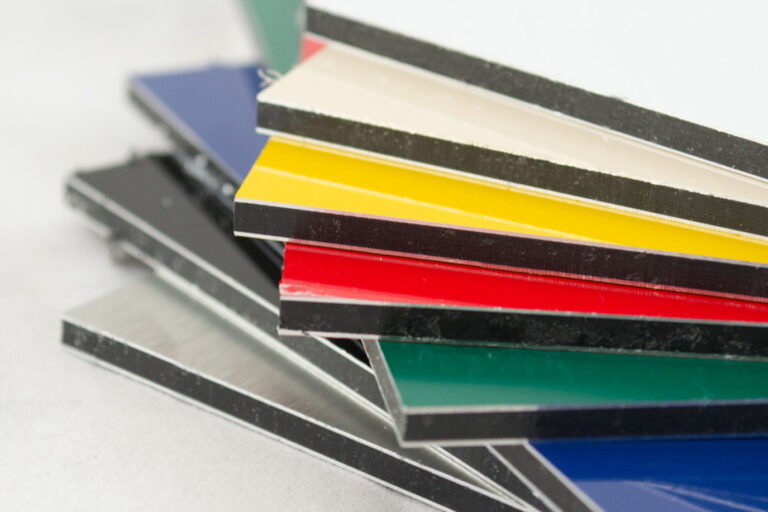
- Fabric — first, you’re going to need the fabric for your mask. I recommend 4-way stretch pleather. Not only will this look better than just regular old spandex, but the 4-way stretch is important for comfort. You can get away with 2-way stretch but it will be harder to work with and less comfortable to wear.
- Liquid latex — the most expensive piece to this puzzle, you can usually find this at your local costume shop. If not, Ben Nye sells it online. You won’t need much at all, so the smallest size will be plenty.
- Painter’s tape & Foam or Mannequin head — if you want to make your own pattern, you’ll need both of these. If you’re just going to use one provided, skip these!
- Paper/cardstock — for transferring your home-made pattern or printing off your downloaded pattern.
- Sponge brush — not bristle.
- Pencil, sharpie, very sharp scissors (preferably with a small blade to ensure smooth cuts).
- ProsAide — to hold the mask on. You can use spirit gum, but it won’t stay as long or as well. ProsAide is way worth it!
Step One: Make or Get a Pattern
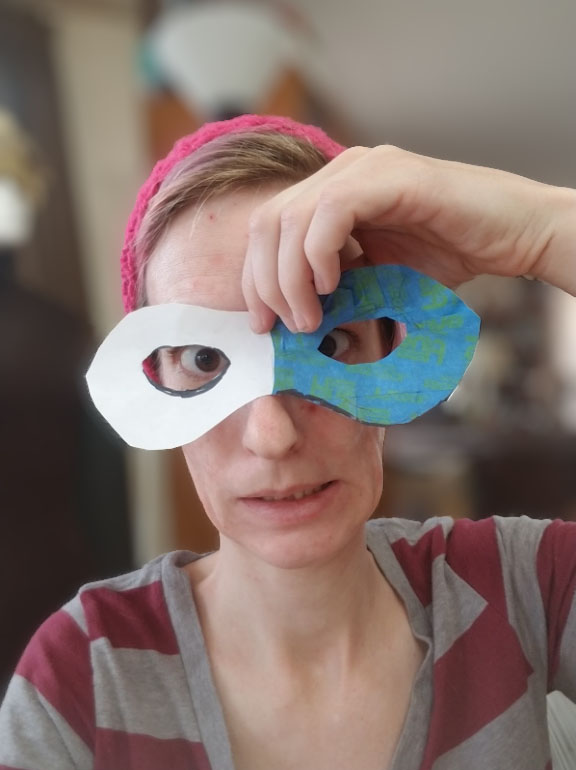
There’s two ways to get a pattern: make one or download one.
If you want to make one, I recommend buying a styrofoam head and some painter’s tape. Simply layer painter’s tape on your mannequin or foam head in a criss cross method until you have a surface that you can draw your design on. Peel the tape off and transfer it to paper. Cut out your design, and viola, you have a pattern!
Alternatively, you can download a pre-existing pattern and go from there.
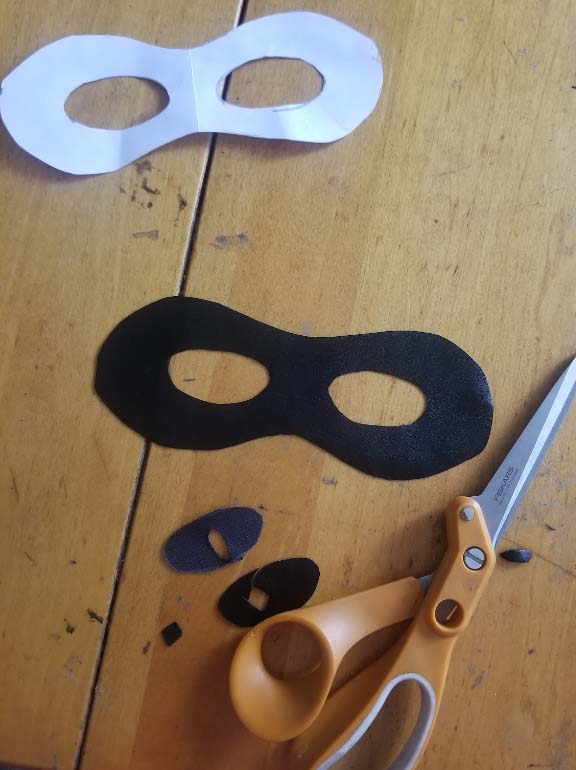
Step Two: Trace and Cut Out Pattern
If you’re using the four way stretch pleather that I recommended, just draw your design on the back with a sharpie or a fabric marker, and very carefully cut it out. You want to be sure that your edges are super clean so take your time and use SHARP scissors.
If you’re using the two way stretch, I’d recommend lining up your pattern so that the stretch goes from top to bottom, since that’s the direction your face will most likely be moving!
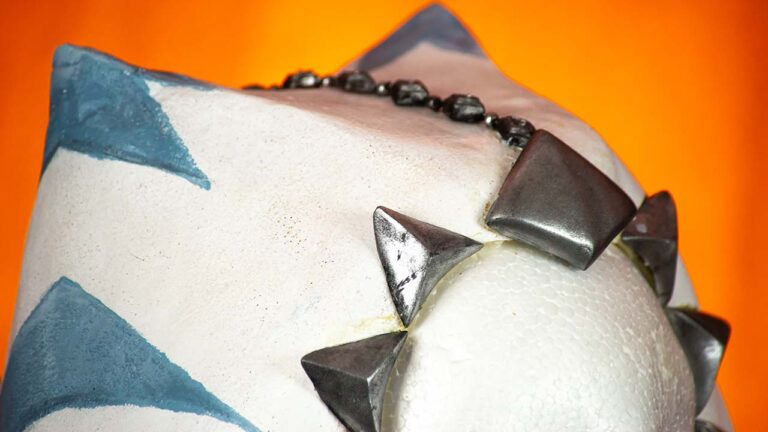
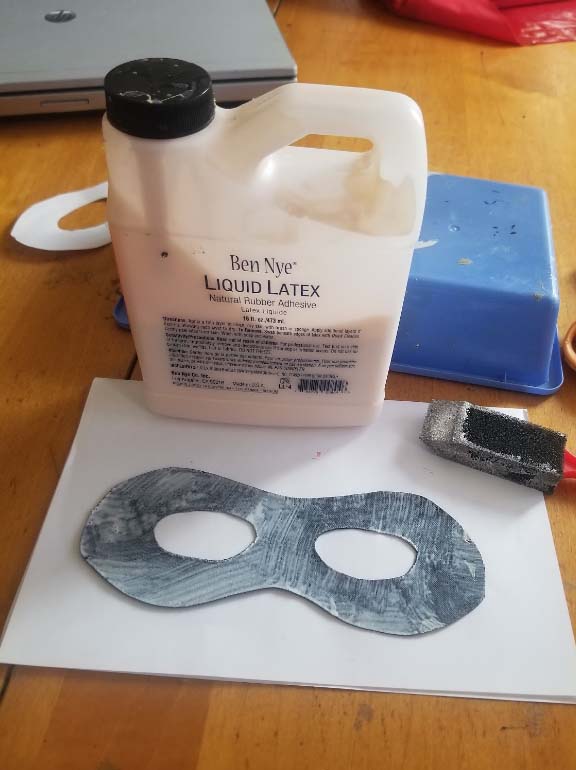
Step Three: Add Latex
Brush anywhere from three to six layers of latex on the back of your mask. Use your sponge brush to get a clean, level surface without any bristles in it. The more latex you apply, the thicker and less stretchy the mask will get, but the more “bulky” and durable it will look. If you want a thinner, more expressive mask, go light on the latex.
During this part you may get some latex that dribbles on to the front of the mask. That’s okay! Just let the latex fully dry, then gently roll the extra bit of latex towards the edge with your thumb. Trim it off, and there you go!
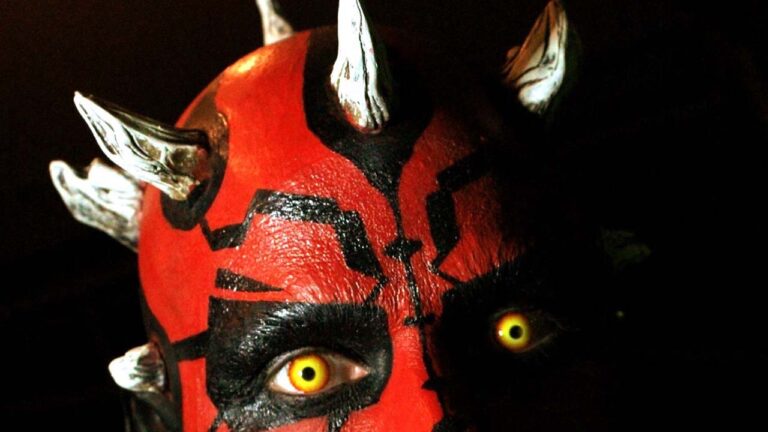
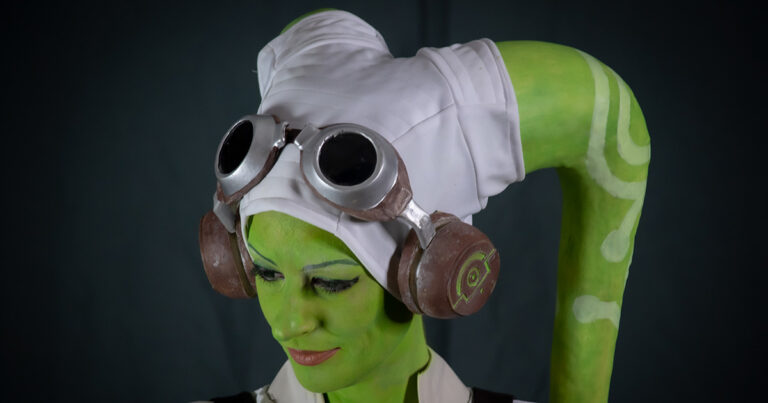
Step Four: Apply
I like to apply my eye make-up before applying the mask, just because I find it easier to blend and everything without the mask in the way. After gluing the mask in place, I touch up any areas of peach that are still showing using a good, solid color.
Regardless if you make-up then mask or vice versa, the procedure for gluing the mask on is the same. Apply Prosaide to your nose, above your eyebrows (not IN your eyebrows), and along your cheeks. Also apply a thin layer of ProsAide to your mask. Let it get tacky, then glue on your nose first before smoothing the mask out along your upper eyebrows and cheeks. If your mask is popping off or not immediately solidly in place, you need to wait for your ProsAide to get more tacky next time. To remove, just gently peel the mask off. Since the mask has a backing of latex, you can wash it with soap and water to remove any residual make-up, then let it dry fully before using it again.
Tips and Tricks
- Watch your eyebrows! Try not to apply any glue in them, but glue above them and below them to secure the mask. Otherwise when you remove your mask your eyebrows might go with — eek! If you’re concerned, you can apply a little bit of Vaseline in your brows, but I haven’t found this strictly necessary.
- Glue from your nose outwards. Starting at the bridge of your nose and then positioning the eyes gives you the most control over contouring it to your face and telling early on if it’s crooked or not. You really want to avoid pulling it up and re-pushing it down as that really weakens the glue’s hold.
- When applying the mask, try not to stretch it or pull it, because then it will be very tight and restrictive on your face. Simply apply it as it is comfortable to give you the most mobility in your expression.
- If you want to add extra dimension, you can use puffy paint to edge or line your mask, but do so when the mask is already shaped to your or a dummy head so it doesn’t crack when you apply it.
- Remember to still do contouring, highlighting, and shadowing around your eyes — don’t just paint them solid black. Create additional depth and visual interest and your mask will look more expressive and interesting in pictures!