
This guide is for people who have purchased my Akul Teeth Headdress for Ahsoka Tano (Clone Wars) cosplayers!
If you’ve already purchased my Akul Teeth Headdress, thank you very much! We will cover all of the steps in this tutorial so you can assemble and wear your new Akul Teeth! These teeth should work just fine with any Ahsoka headpiece you have, but they work best with the headpiece I created to go with them.
If you haven’t purchased these Akul Teeth yet, check out this product for all the details!
Materials Needed
Comes with Purchase:
- Akul Teeth
- 1 large “central” tooth
- 6 smaller “side” teeth
- Chains
- 2 long “full” chains
- 1 shot “half” chain
Additional Materials Needed:
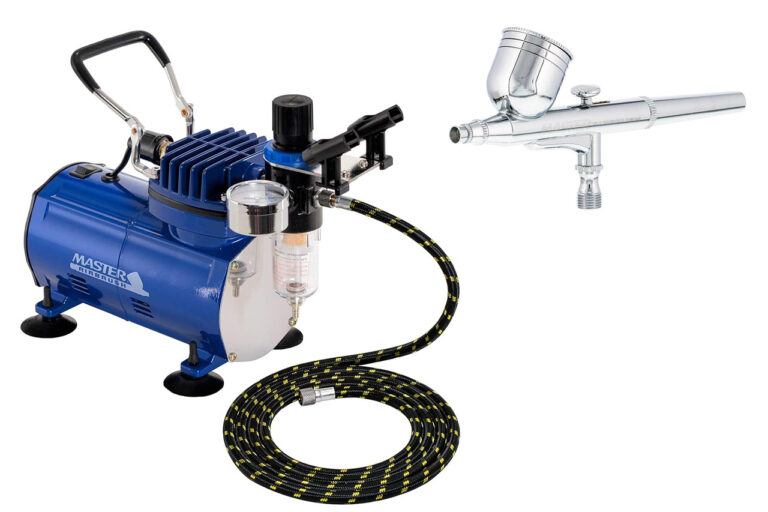
- Dremel w/ Sandpaper Bit (Can substitute for regular coarse grit sandpaper if needed)
- Contact Cement (“Barge” brand recommended)
- Scissors
- Primer (Black Recommended)(If you purchased the Raw Kit) Paint
- Silver
If you’d like the additional Padawan braid, look for these optional materials:
- Two circular silver metal beads
- Additional six inch length of round silver beads on a chain
- magnetic necklace closure (super optional – see below)
Assembling Your Raw Kit
- Sand edges of all the akul teeth to clean them up from any additional flashing. Begin sanding the middle/back of the akul teeth to start creating a curve for them to attach to your headpiece.
- Double-check the bead/chains and clean up any extra flashing that remains (I do initial cleanup on all beads. Be careful because the small round beads are easy to pull off if you put too much pressure on them.)
- Paint your pieces with initial primer. I recommend painting BOTH front AND back of the pieces with your primer.
- Paint the front of your pieces with the silver. Ahsoka’s akul teeth are already slightly worn/weathered so you can create an instantly deeper look to your akul teeth and beads by allowing the black undercoat to show through in the cracks/edges, especially on your bead chains.


- Tie one end of the half bead chain to the ends of both long chains, creating a knot with all three chains attached to it.
- Position the knot at the top of the rear montral, stretching the half chain along the top of the headpiece to the central akul tooth. If there is excess to the half chain, trim it.
- Glue the short half-chain to the underside of the central akul tooth. Allow to set fully.
- Proceed to final assembly.
Applying Akul Teeth to your Headpiece
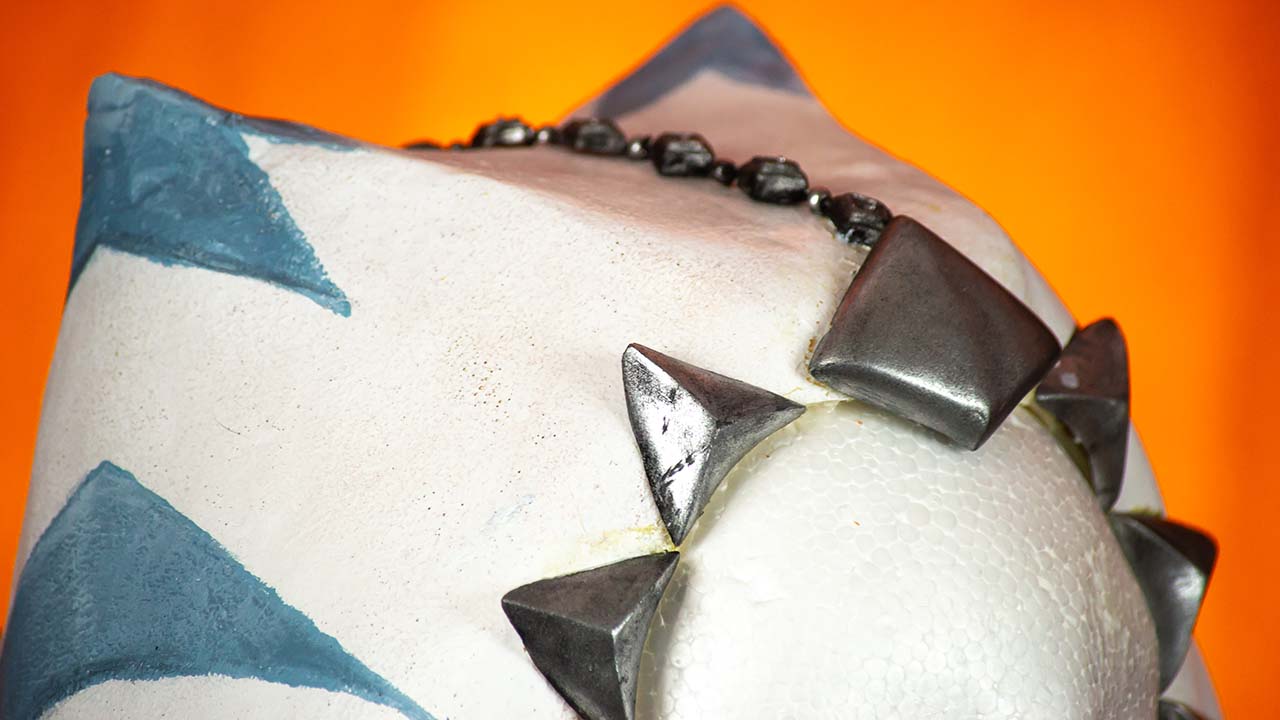
- You should have six individual smaller akul teeth AND one large akul tooth with a short chain glued to its peak and the long chains on the far end of the short chain. With finished kits, I have already sanded the edges of the kit and assembled the chains.
- Sand the inside of the akul teeth until there is a good curve that mimics the curve of the headpiece. Start with the central akul tooth and then work from the central out to the edges. Try and keep the akul teeth in order since the curves may be different depending on the akul tooth placement.
- I recommend a dremel for this step as it will make it much simpler. If you don’t have access to a dremel, you can use a piece of sandpaper wrapped around a marker to give you an easy tool to create a curve with minimal effort.
- Starting with the central akul tooth, glue the teeth in place. Coat one side of the akul tooth with contact cement then put a layer on the headpiece. Allow the glue to get fully tacky (it will go from shiny to very, very matte) then press the akul teeth into place. Be very careful and very deliberate at this point because once the tooth goes into place pulling it away may rip your headpiece and will weaken the hold.


- (Optional) Take your silver chain and measure a length from the last bead on the bead chain to just above the end of the rear montral. Glue the top of the chain to the underside of the bead. This will create Ahsoka’s “padawan braid”.
- (Optional) Whether you decide to add the padawan beads or not, you can use a bit of thread or chain to add larger silver beads to the end of the bead chain to give the chains a bit of extra weight and more natural ‘swing’.
- Ta da! You’re all done. Go forth and be amazing!
Final Thoughts
- You want to make sure the akul teeth sit comfortably along your hairline without digging in to your forehead. I recommend using a styrofoam or other stand-in head while assembling the akul teeth to ensure you glue them accordingly.
- If you do have an akul tooth that is uncomfortable, you have two choices for how to handle it:
- Choice one: sand the edge of the akul tooth that is uncomfortable until it sits nicely once more.
- Choice two: remove the akul tooth and reglue. To do this, I recommend using a sharp edge to “cut” the contact cement a little bit at a time. This can be slow going and can do damage to your headpiece, so it should only be done as a last resort.
- When you store your headpiece, use balled-up bags or newspaper inside of the head cavity to help keep its shape and keep tension off of the akul teeth.
- If you wish for additional picture opportunities, use a magnetic necklace clasp to attach the bead and the chain, so you can remove the “padawan braid’ for pictures and/or just for TEH FEELZ.

- If you are having issues with the beads flipping or not staying in place, you can always glue them in place. If you don’t want to permanently glue them down, you can use a bit of low-temp hot glue to hold them in place semi-permanently since, for most headpieces, you can peel off low-temp hot glue with minimal damage.
- I glued my beads down where my fingers are — this allowed the beads at top to stay in place but still swing down below this point.
And that’s it! Your Akul Teeth are done, your Ahsoka cosplay is looking awesome! If this tutorial was helpful to you, please leave a review on my product and let people know how much you love it! You can also sign up for my newsletter to get updates on new tutorials or props, or feel free to contact me if you have any future questions! Thank you again!