

Wearing
Putting Them On:
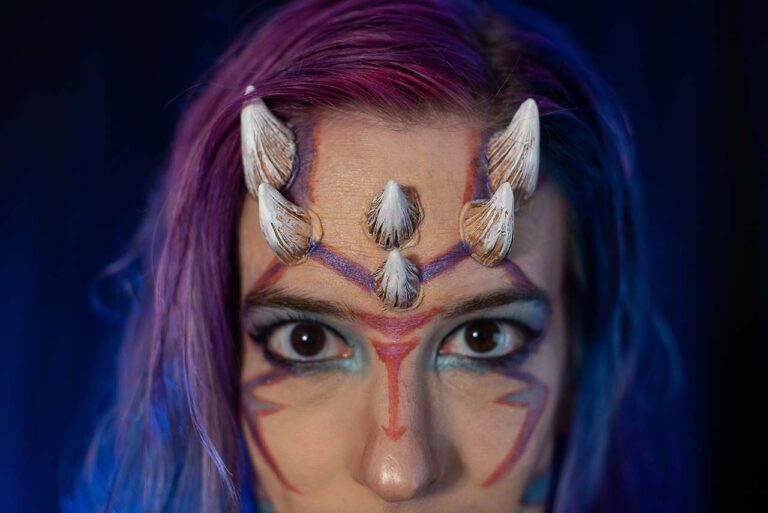
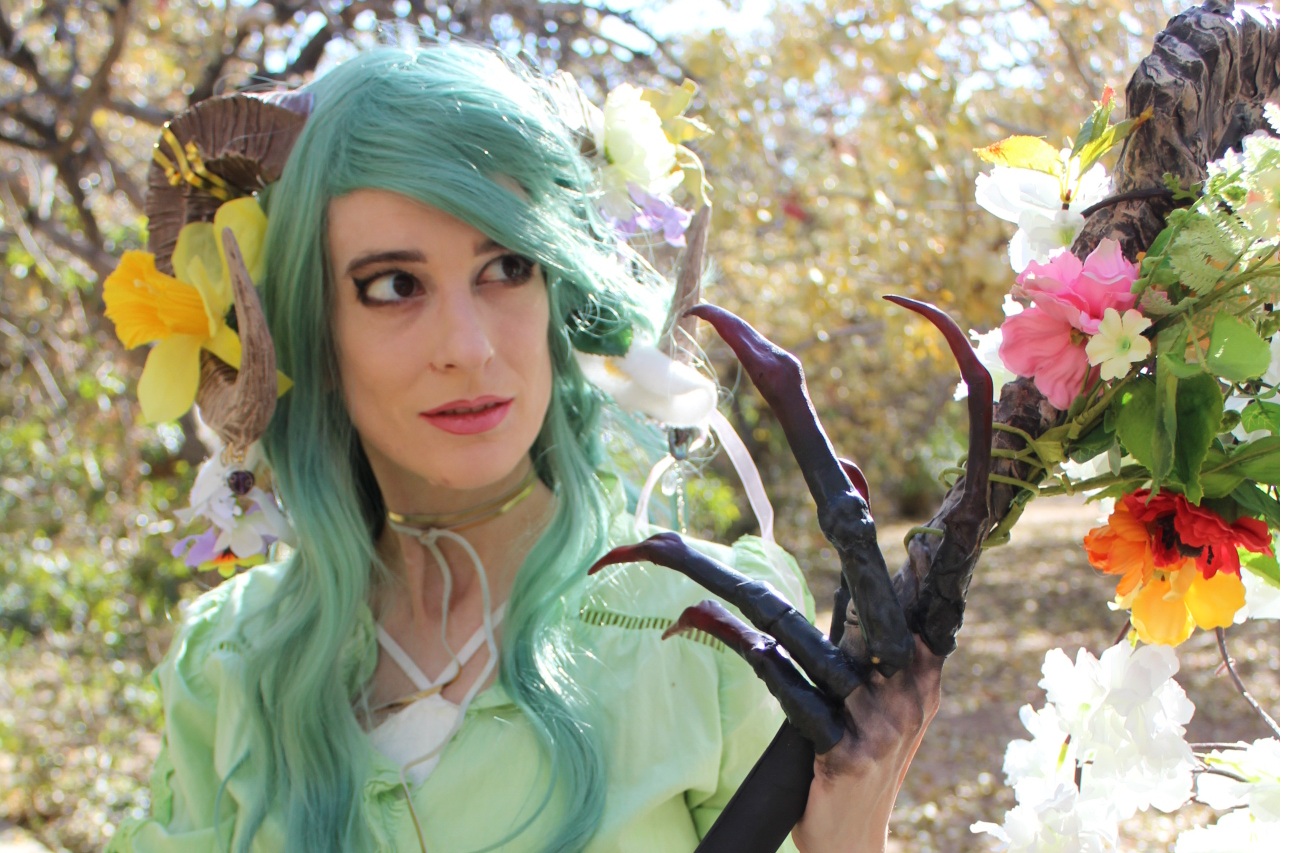
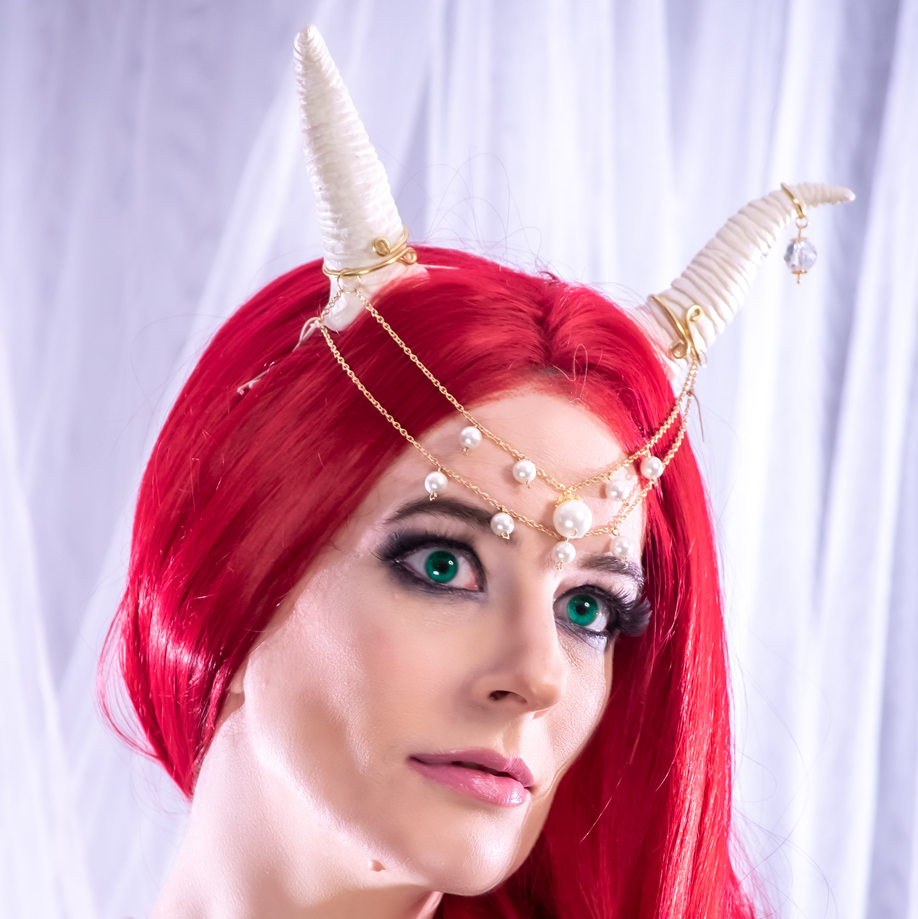
The way I put them on is to hold both horns in one hand. Take the elastic and stretch it over your head with the other hand. Then you should be able to release them and adjust them on your head. I do recommend securing them with bobby pins or clips to keep them from falling off.
Common Problems:
- My horns are flopping around! or My horns bounce while I walk! or My horns are very wiggly!
This means that your elastic or whatever tie you have is too loose. Tighten the elastic or switch to thicker elastic. You can also use bobbypins on either side of the horns to secure them without tightening the elastic. - My horns have an edge that is hurting my head!
Grab a rougher grit of sandpaper, such as 80-100 grit. Using your finger or a highlighter to wrap the sandpaper around, carefully sand down/off the area bothering you. You can also add hot glue to the edge to create more of a rounded surface.
Other Ways of Wearing:
If elastic isn’t for you, consider other ways of wearing these horns.
- Attach to headband – You can use the existing holes to sew a cloth strip to the horns and use that instead. Just make sure your horns are perfectly spaced before you sew them in place.
- Use Magnets – You can close the end of the horns with a bit of foam with a neodynium magnet on the inside. Then put the opposing magnets underneath your wig or headband to have an easy on with no visible attach points!
- On your Wig – Use the elastic holes to sew your horns directly to the lace structure of your wig.
- Glue to Hair Combs – You can glue a hair comb along the top inside of the horns to allow you to pin them directly in your wig or hair. Just be sure to bobby pin them in place so they don’t fall.

Repair and Care
Paint Job:
Most horns are painted over top of white resin which means that the paint can chip and reveal the white underneath. If this happens, you can do one of two things:
- Repair the paint with a matching color from an art store. I use Liquitex colors but for small repairs any brand will do.
- Use a colored sharpie to very carefully fill in the spot.
For either, don’t worry about color matching exactly, just get as close as you can. No one will notice a slight color deviation– horns and other organic parts have a lot of variation in their color!
[[ Note: if you are purchasing horns in 2025+ this should be much less of a concern since I am now coating the horns with a layer of protective gesso.
You can still touch-up the paint job using these methods if needed! ]]
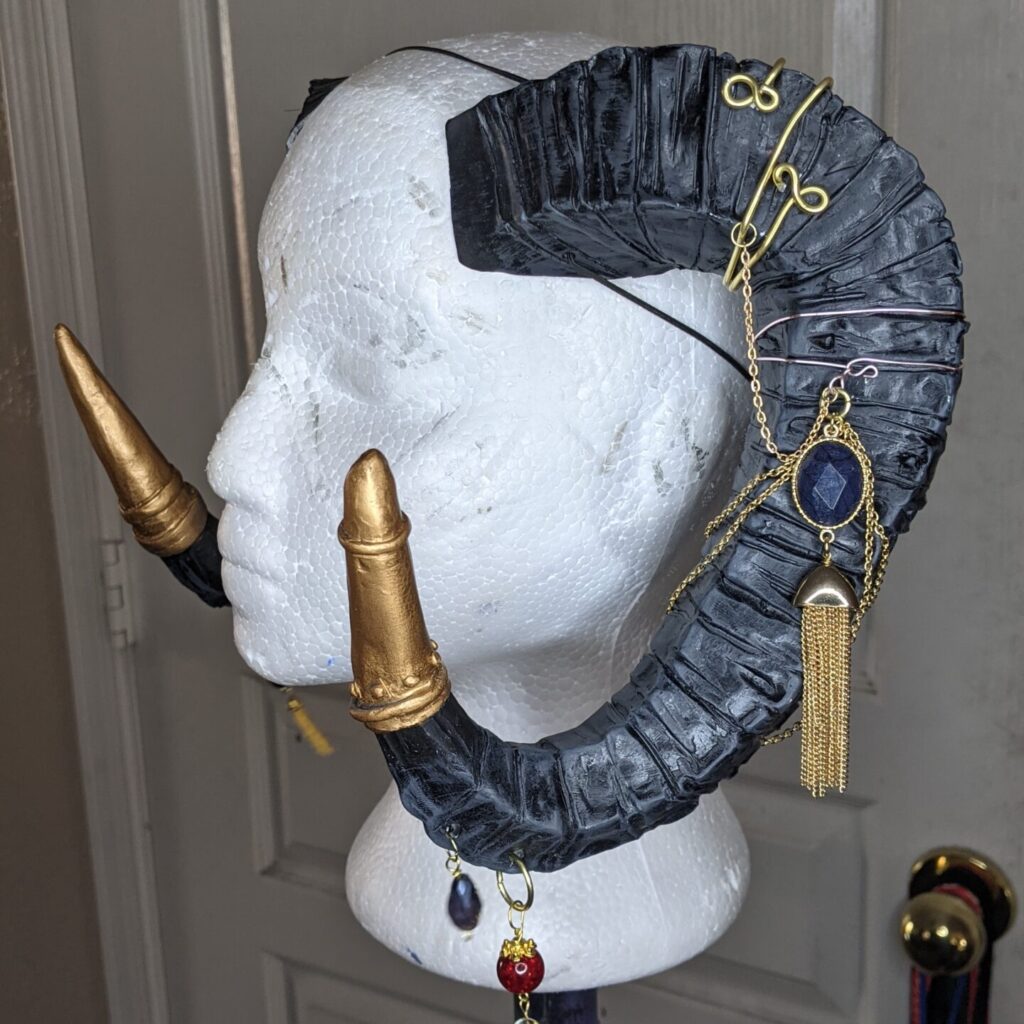
The Jewelry:
If you need to repair slipped/broken jewelry or if you want to add more jewelry to your horns, you will want to use a high-quality super glue to do so or E-6000 which is a jewelry glue. You can use hot glue to semi-permanently add to your horns, but be forewarned this may damage the paint job upon removal.
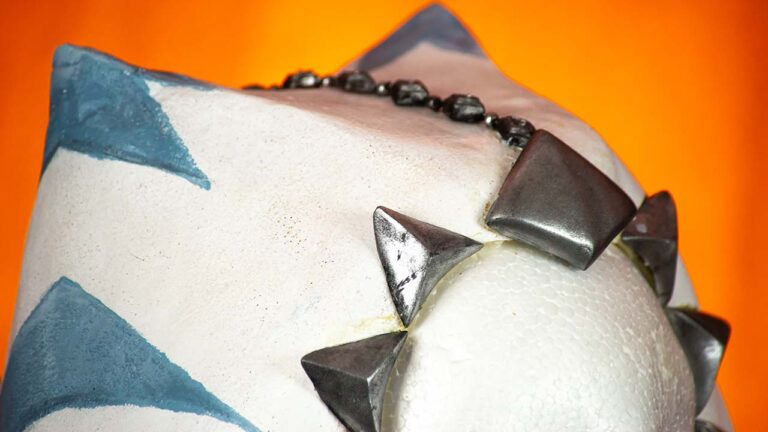
Storing and Transporting:
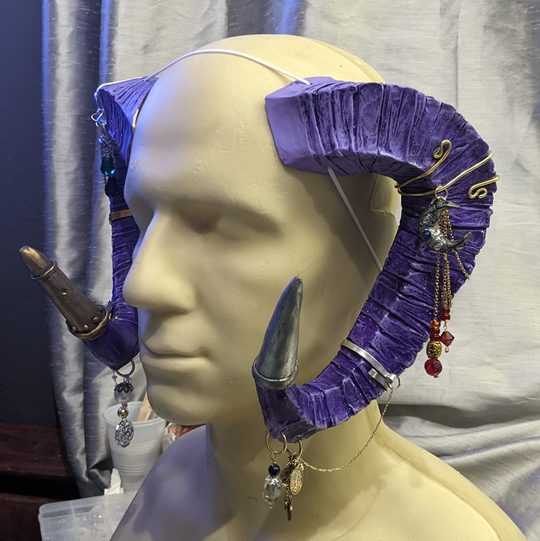
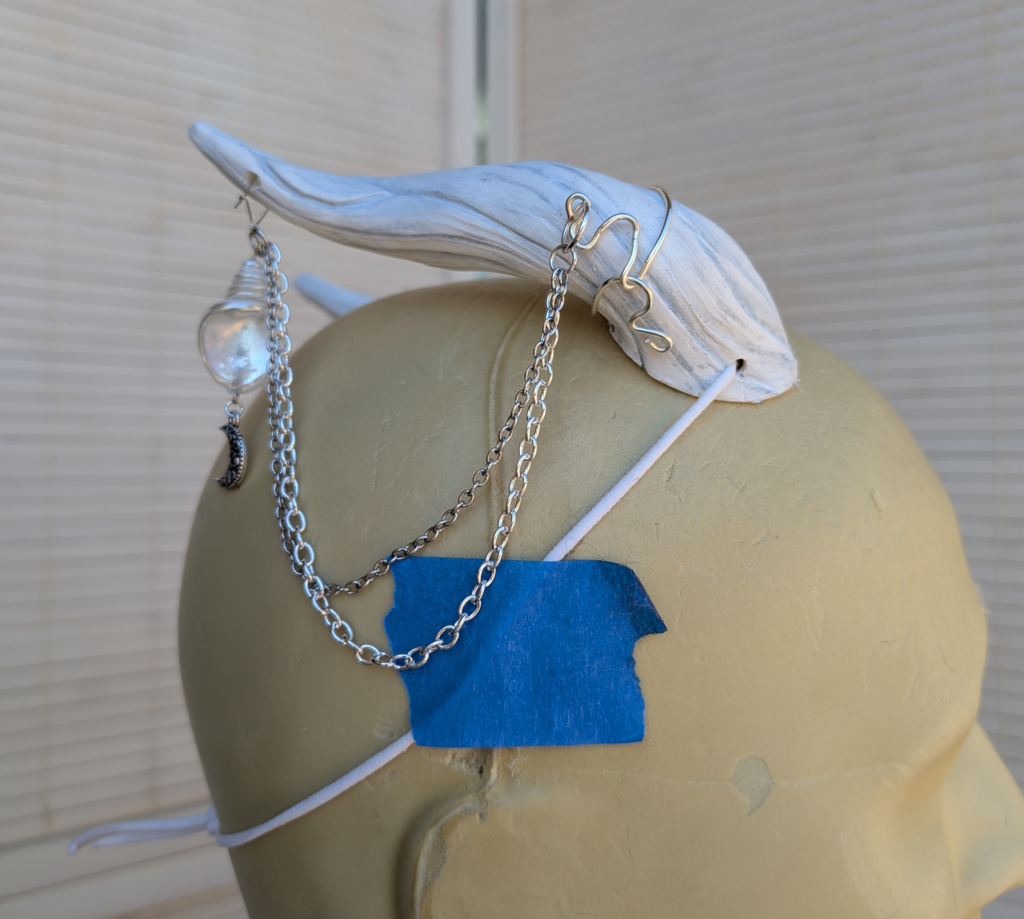
While these horns are pretty resilient, they can be snapped or cracked, so it’s important to take care when storing or transporting them. I recommend wrapping them in either bubble wrap or tissue paper, then putting them in a hard-sided box. If your horns have multiple chains that hang down, putting some clear tape or painter’s tape on the chains to keep them from tangling is a great idea and will save you time detangling it all later.
Also keep in mind that the horns are extremely heat sensitive. Do not leave them in warm or hot situations, as this can result in the horns warping in shape.
If you have any other questions or concerns not covered here, please don’t hesitate to reach out to me and let me know!
All links in this tutorial are affiliate links. This means if you click on that link and then make a purchase, I may get a small (very small!) commission from that click. Thank you for supporting small businesses and creators!